
Adobe offers a wide range of software that is used in the A&E CAD labs and which students may find value in having to use from home. For PDF files, Adobe has a free application, Adobe Reader, which is available to everyone. While students currently do not have remote access from home to use the ACC license for the Adobe Creative Cloud Suite (CC) of applications available on the machines in the labs, students have the option to purchase CC at a reduced rate.
Instructions
Please click each header below in sequence to read and follow the steps required to install your software.
DOWNLOAD & INSTALL - ACROBAT READER
If you need a PDF viewer at home, this section will guide you through downloading and installing Adobe Acrobat Reader DC, as well as assigning default file associations.
- Click the link acrobat.adobe.com to open Adobe’s Acrobat Reader site
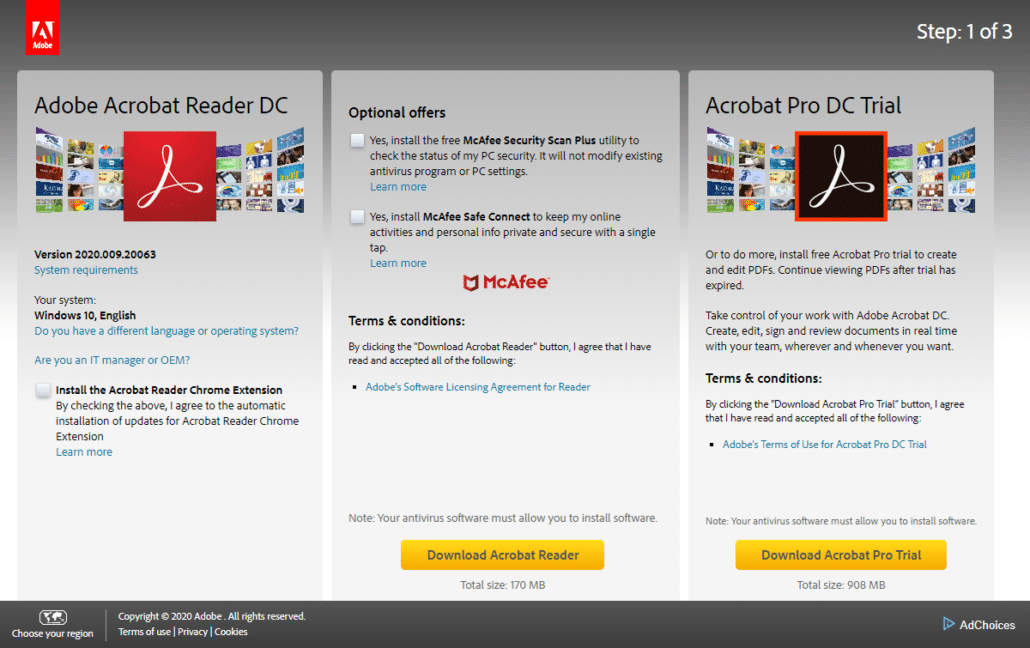
- Click the Download Reader button in the center of your screen
- Uncheck all boxes (Chrome extension and McAfee options) before clicking the Download Acrobat Reader button in the bottom of the center section
- Run the installer directly from your browser or run the installer (‘readerdc_[…]_install’) from your Downloads folder
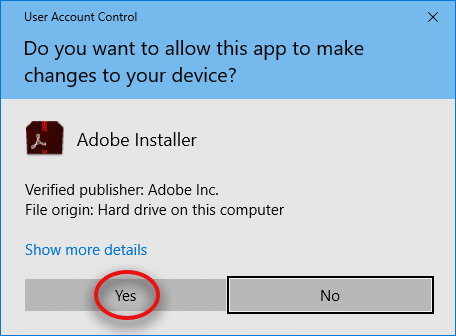
- Click the Yes button on the User Account Control window
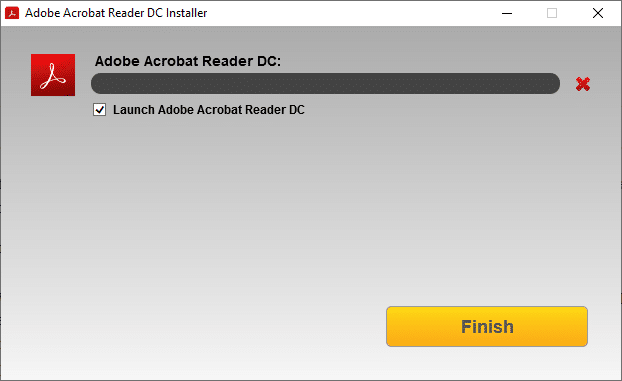
- Click the Finish button to close the installer after completion
Setting Acrobat Reader as Your Default PDF Viewer
If for any reason you were unable to set Reader as your default PDF viewer and wish to do so, please follow the instructions provided below:
- Click on the Start button
- Click on the gear icon to open Settings
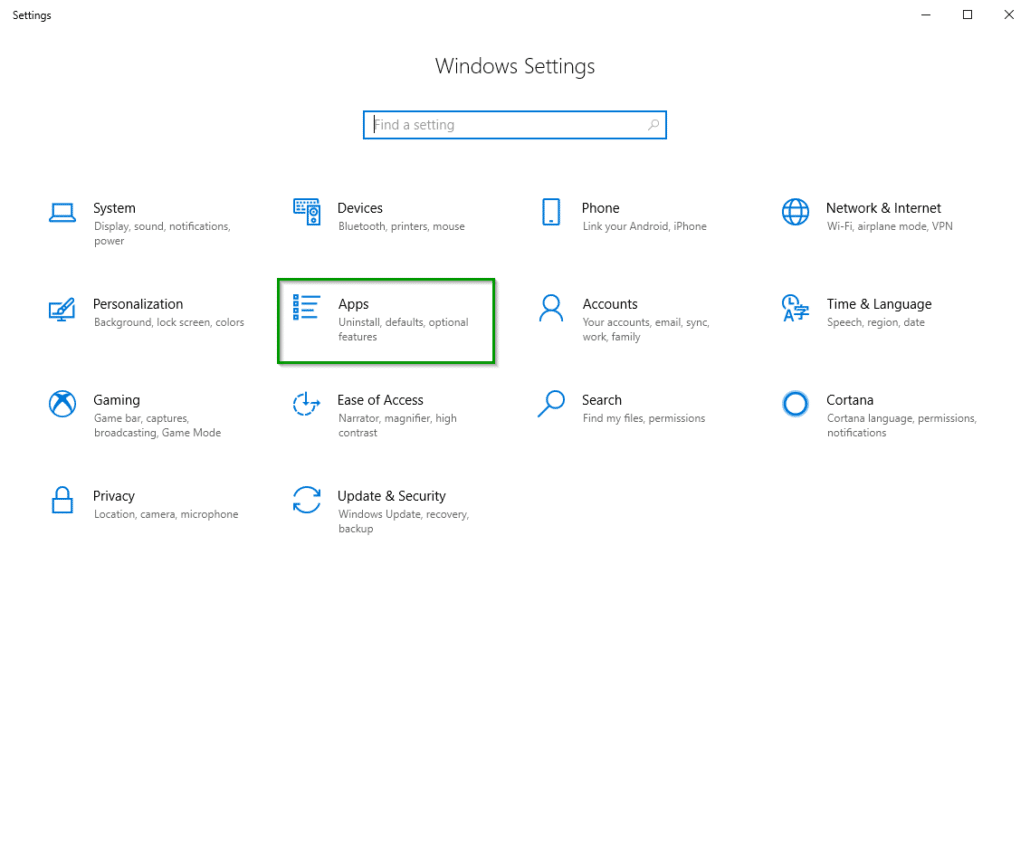
- Click on the Apps tag in the center pane
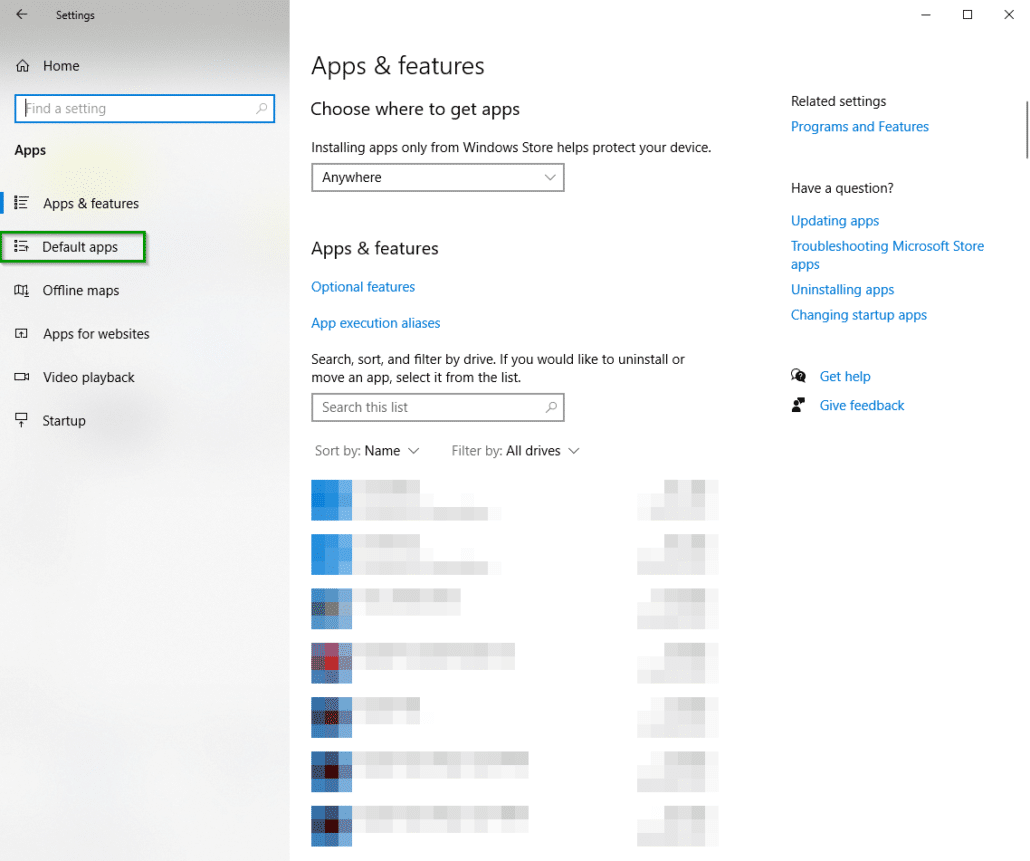
- In the left pane, click on Default apps
- Scroll down and click on the hyperlink Choose default apps by file type in the center pane
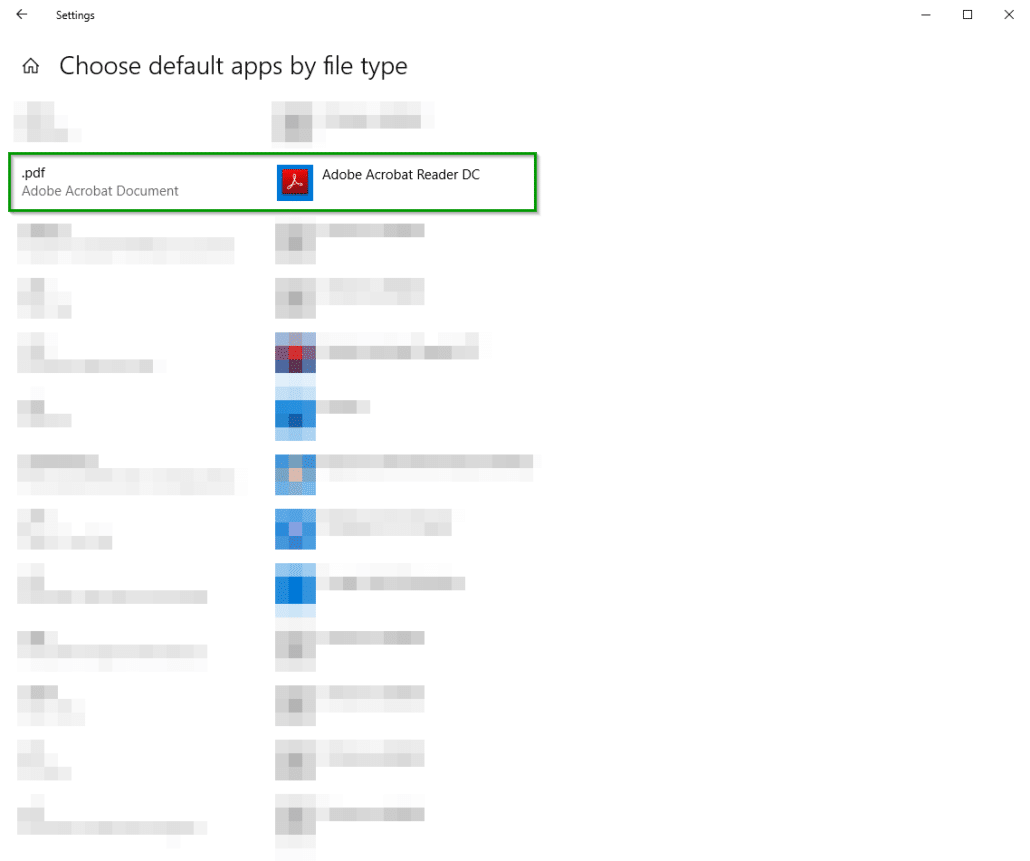
- Scroll down to .pdf (left column) and click on the associated app (adjacent column), then select Adobe Reader

CREATE ACCOUNT
To create an Adobe account using your ACC student account, please read and follow the instructions below:
- Click the link accounts.adobe.com to open Adobe’s account creation site
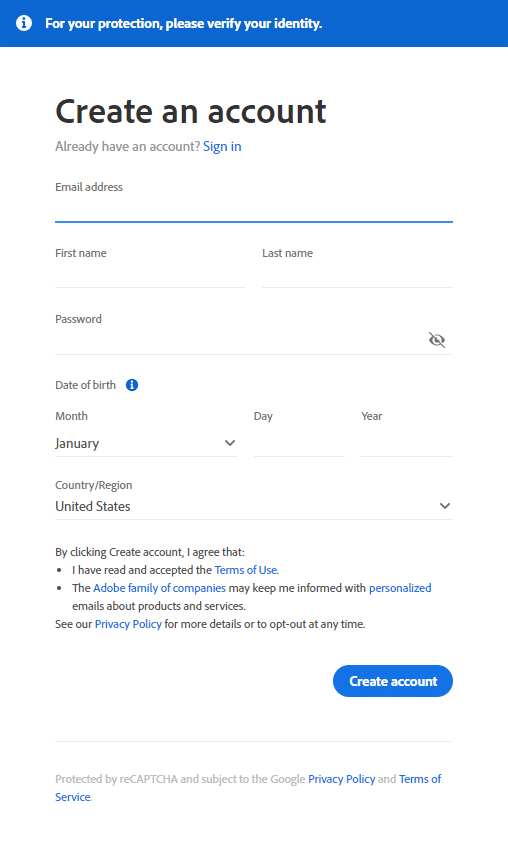
- Click on the Create an Account link below the Sign in link
- NOTE: Do NOT choose “Continue with Google”, Facebook, or Apple
- Using your ACC student email address, enter your personal information:
- First and Last Name
- Date of Birth
- Country
- Create your password with:
- At least 8 characters
- Containing both upper and lower case letters
- At least 1 number or symbol
- Click on the Create account button
DOWNLOAD & INSTALL - CREATIVE CLOUD
The Adobe Creative Cloud suite is available from the Adobe website (here) for $20 per month with a free one-week trial and is also available from the ACC web store (here) for $10 per semester license if you are currently enrolled in a class in which Adobe products are required, or $50 per semester license if you are not currently enrolled in a class in which Adobe products are required. Please consult your instructor to find out if your class is applicable for the $10 rate. For more information regarding the relationship between Adobe and ACC, please click here.
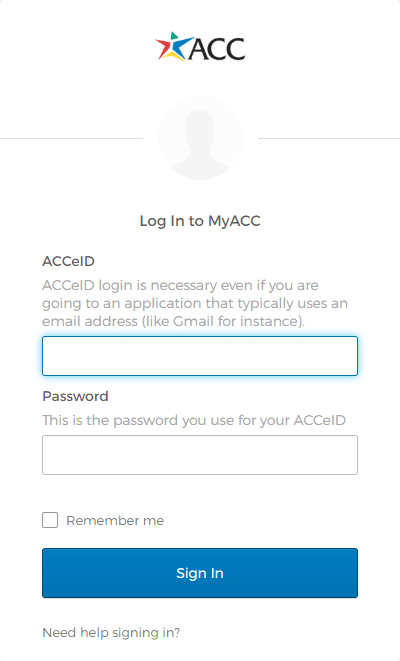
- Click the Austin Community College WebStore link and sign in (Okta window will appear)
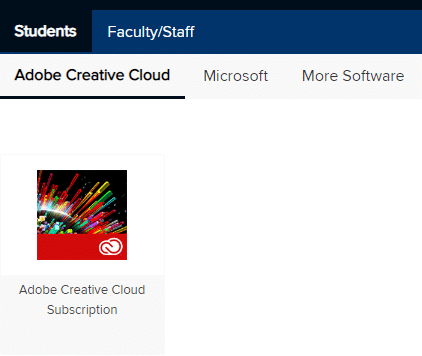
- Click on the Student heading, then the subheading Adobe Creative Cloud
- Click on the icon for Adobe Creative Cloud
- Click the Add to Cart button
- Click on the Check Out button on the dialog box that appears
- Complete the form by providing your name, ACC email address, and payment information
- Click the Continue button at the bottom
- Your order will process and the page will refresh with your invoice number
- Click the Install button on the confirmation invoice page to begin your download
- If you do not see an Install button, click the Get Started button in the confirmation email sent to your ACC student email account
- If you did not receive a confirmation email, access your orders by clicking on your name in the top right corner of the webstore and select Your Account/Orders, then click on View Details under the Adobe purchase and click the Install button
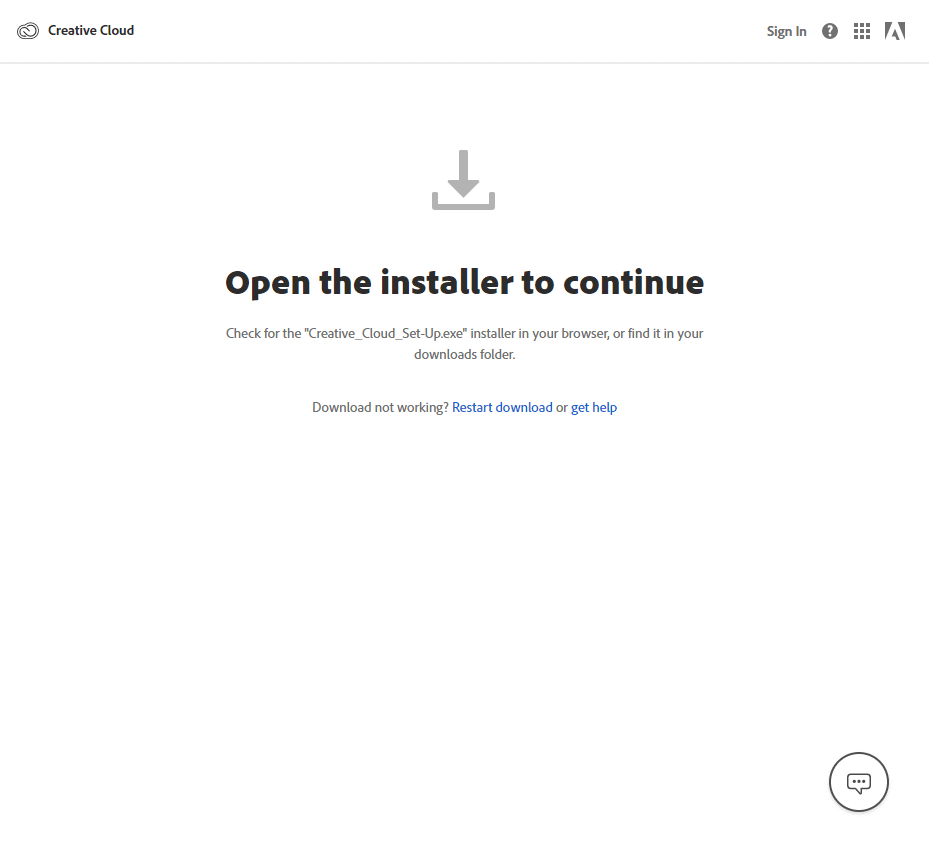
- Launch the installer “Creative_Cloud_Set-Up.exe” from your browser or by accessing it in your Downloads folder
- A User Account Control window will appear asking if you wish to allow Adobe to make changes to your hard drive – click the Yes button
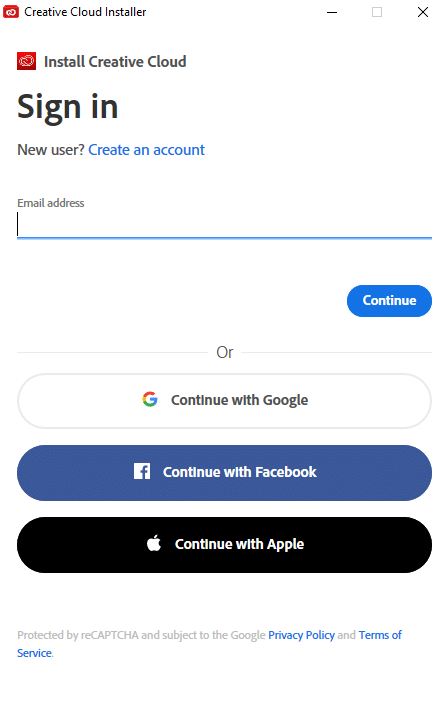
- Enter your ACC student email address into the Creative Cloud Installer window and click the Continue button
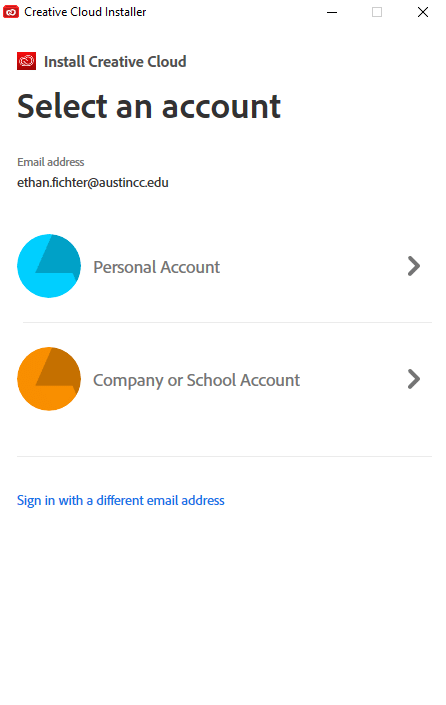
- Select Company or School Account and sign in (Okta window will appear)
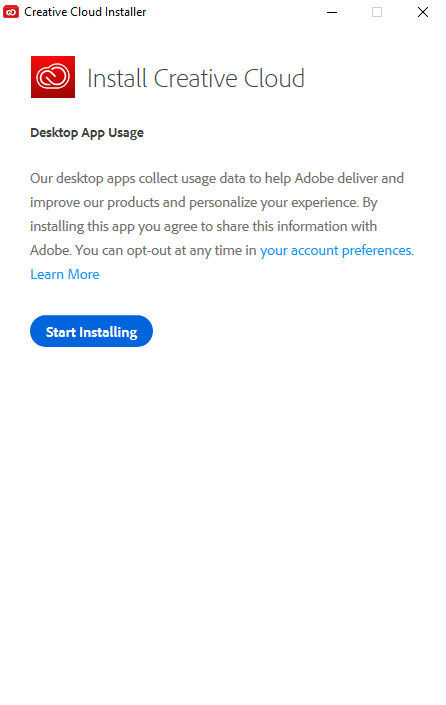
- Click on the Start Installing button on the Creative Cloud Installer window to begin your installation
- If the Creative Cloud Desktop window does not open automatically after installation, click the Start button and scroll down to Adobe Creative Cloud and click it to launch
- From the Creative Cloud Desktop, click the Install button under each desired application tag