
Parallels Desktop allows for seamless use of Windows side-by-side with macOS (without restarting), and enables files and folder to be shared, copy and paste text and images, and drag and drop files between Mac and Windows.
To find out more details about Parallels Desktop for Mac, visit their website here (https://www.parallels.com/products/desktop/).
NOTE: The A&E CAD Tech Support Team officially recommends Boot Camp over Parallels – not only because it is free, but because it has proven to be more stable than Parallels.
Instructions
Please click each header below in sequence to read and follow the steps required to install your software.
PURCHASE PARALLELS DESKTOP
Check System Requirements
Before you begin purchasing, downloading, and installing Parallels Desktop for Mac, make sure you meet the system requirements listed below:
- A Mac computer with:
- Intel Core 2 Duo, Core i3, Core i5, Core i7, Core i9, Intel Core M or Xeon processor.
- At least 4GB of RAM (8GB recommended).
- At least 50 GB of space available on the boot volume (the volume that has macOS) for Parallels Desktop installation (500 MB), for the Windows installation (20 GB), and for any Windows applications you want to install.
- NOTE: You may require as much as 100 GB of space depending on the Autodesk application(s) you are going to install.
- macOS 10.12.6 Sierra or higher.
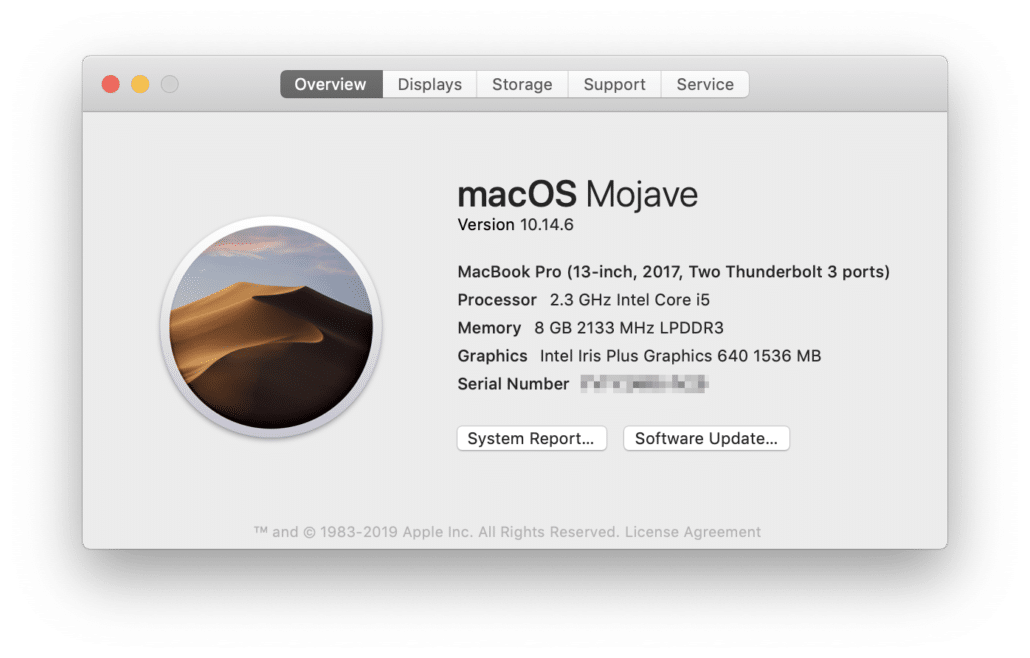
- NOTE: To identify your computer’s processor, memory, and macOS version, choose Apple menu > About This Mac.

-
- Internet connection required for product activation, select features, and online updates.
- Windows installation media.
- NOTE: If you don’t have Windows, Parallels Desktop can help you download and install Windows 10, but you still require a valid license key. See the Activate Windows 10 section below to learn how you can get a free copy of Windows 10 Education from ACC.
Purchase Parallels Desktop for Mac
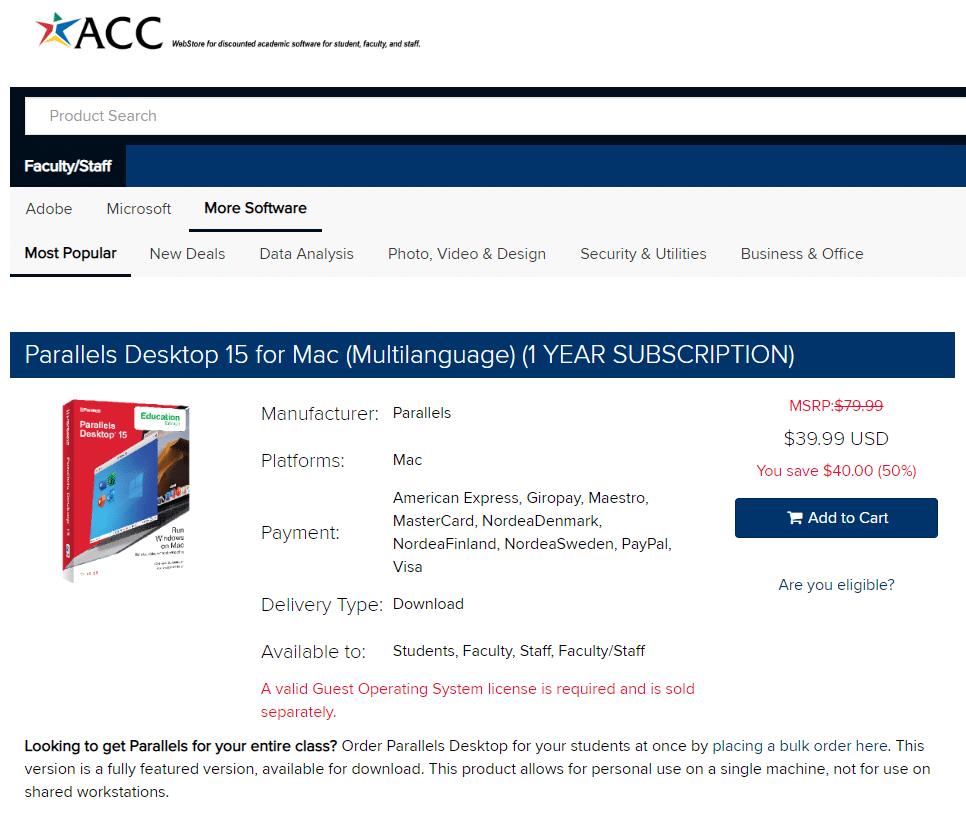
After you have verified that your Mac is capable of running Parallels Desktop and meets all of the system requirements head to the ACC Webstore to purchase Parallels Desktop for Mac at a discounted price.
- Browse to the ACC Webstore by clicking here and sign in (Okta window will appear).
- Click Add to Cart to add Parallels Desktop for Mac to your cart.
- Complete your purchase by checking out.
- Once your purchase is complete, you should receive the Parallels Desktop activation key you will need later.
Now that you have purchased Parallels Desktop, proceed with the instructions in the sections below to install it, then install Windows 10.
DOWNLOAD & INSTALL PARALLELS DESKTOP
Before you begin the installation of Parallels Desktop for Mac, make sure you have the latest version of macOS (see here for more information). Please carefully read and follow all of the instructions. To begin:
- Download Parallels Desktop for Mac here.
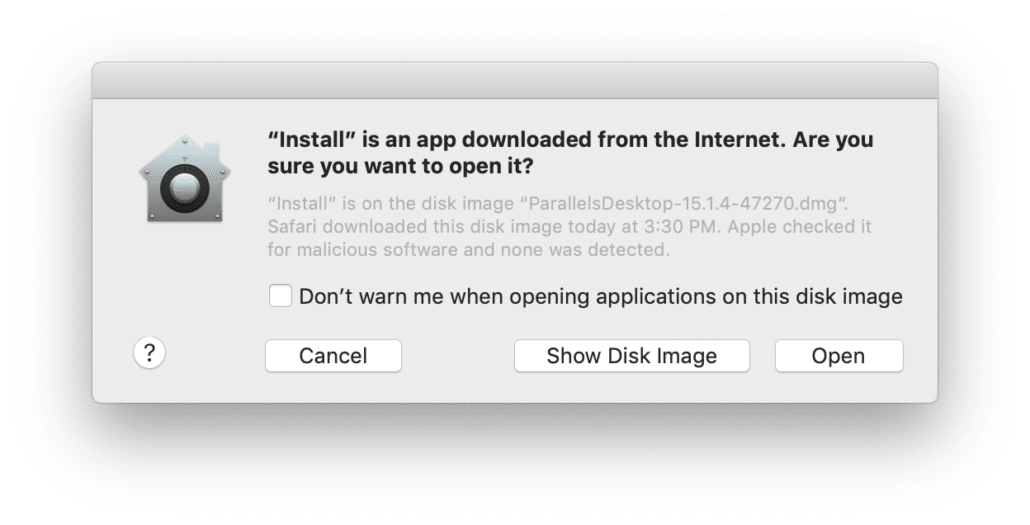
- When the download completes, double-click the Parallels Desktop installation file with the DMG extension to mount it to Finder.
- When the Parallels Desktop installer opens, double-click on the Install icon.


- Click Open on the message asking if you are sure you want to open this app (refer to the images below).
- Click Accept on the License Agreement screen (refer to the images below).
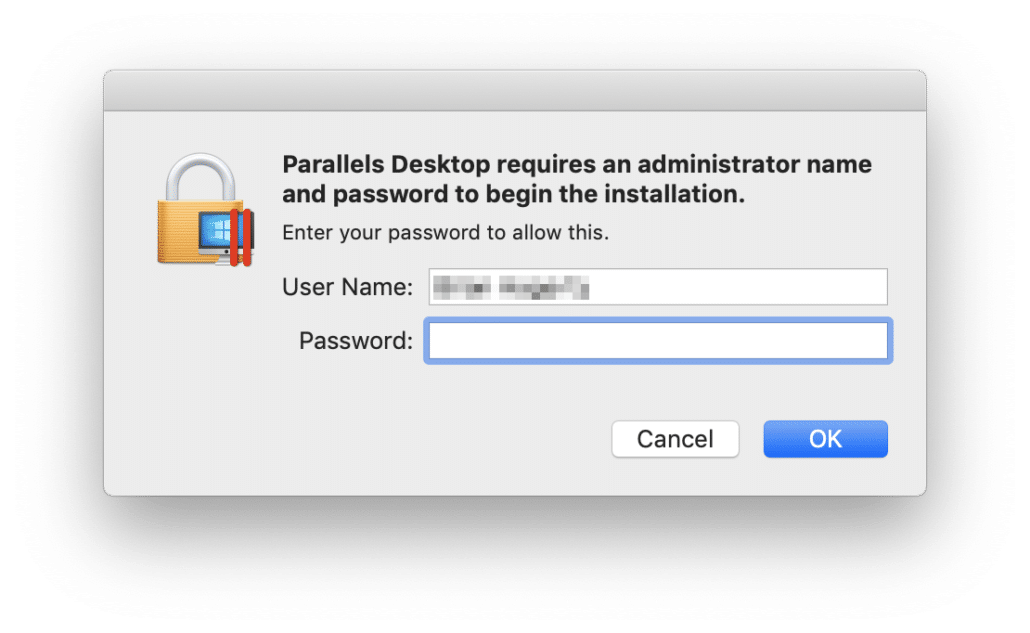
- Enter in an administrator username and password if your Mac requires one to install applications. Parallels Desktop will then begin to install (refer to the images below).

- Once Parallels Desktop finishes installing, the Parallels Installation Assistant will launch.
- Proceed with the instructions in the Install Windows 10 section below to complete the process of installing Windows 10 using the Parallels Installation Assistant.
INSTALL WINDOWS 10
Now that Parallels Desktop for Mac has finished installing, begin the Windows 10 installation by following the instructions below:
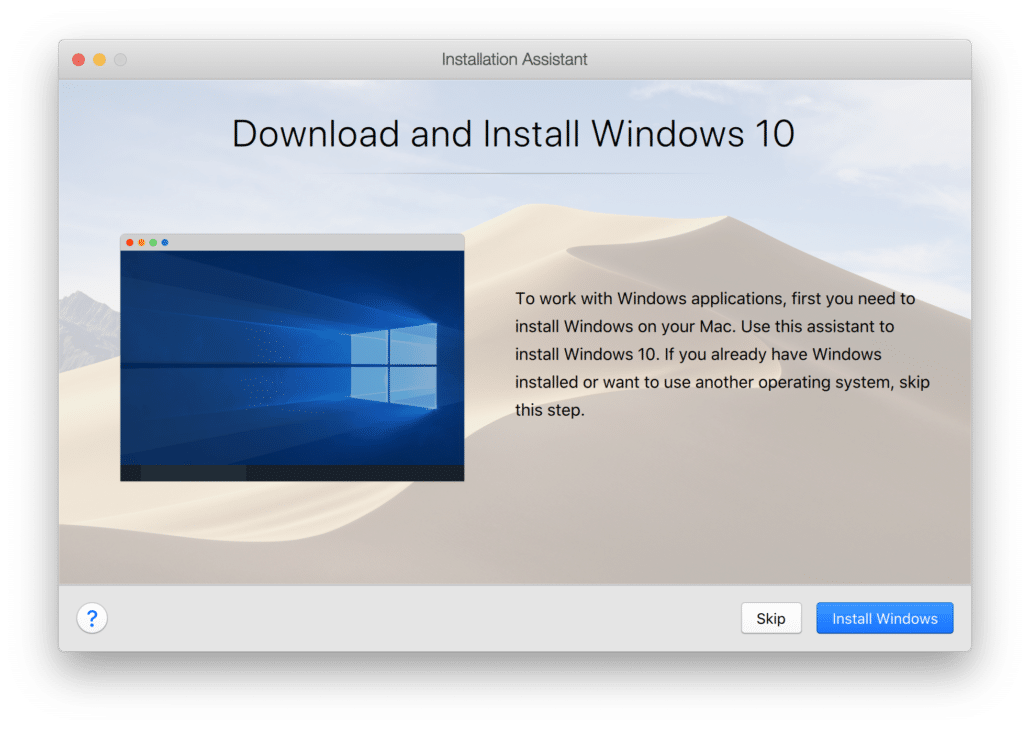
- In the Parallels Installation Assistant click on Install Windows.
- The Installation Assistant will create the Windows 10 virtual machine, and download and install Windows. The download of Windows 10 may take some time depending on your internet speed.
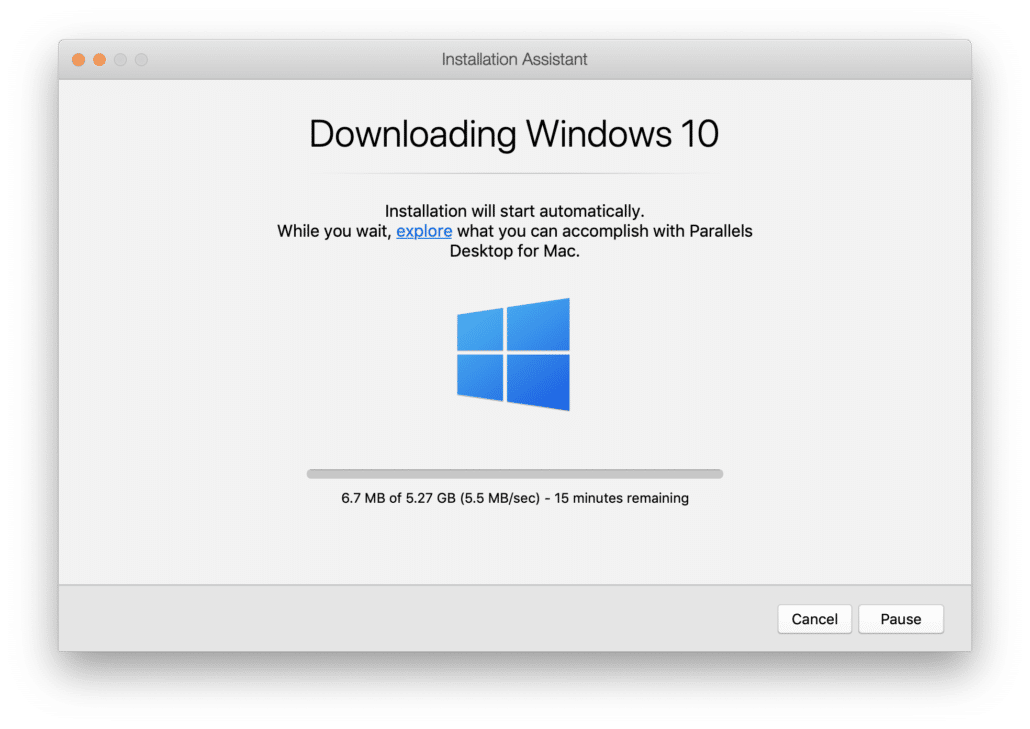
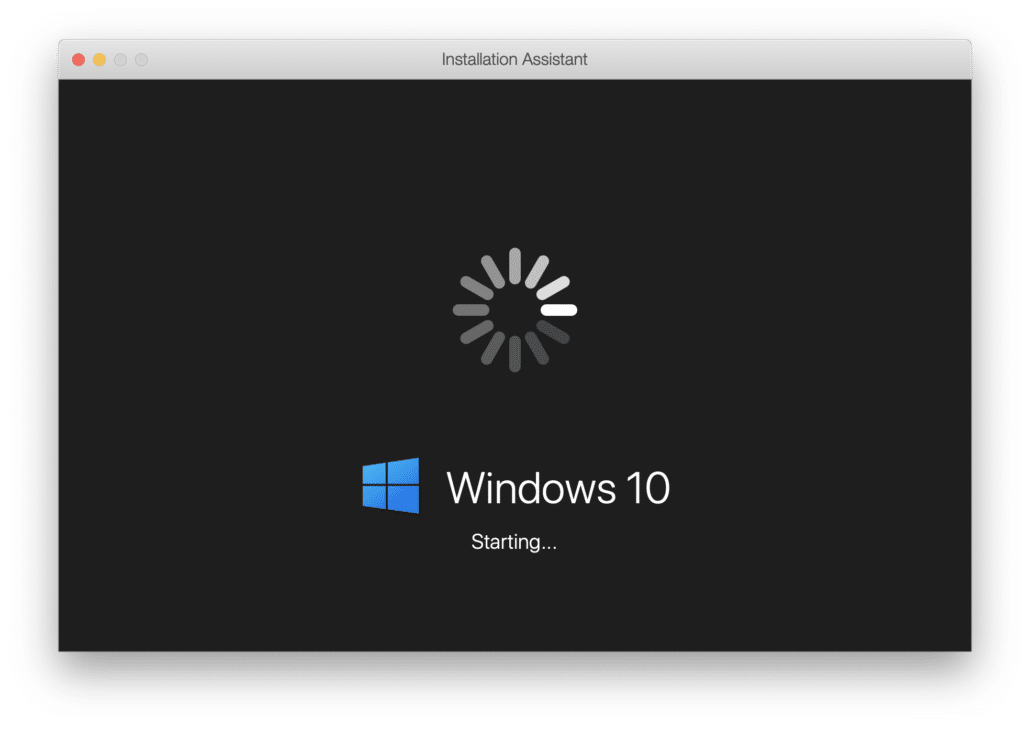
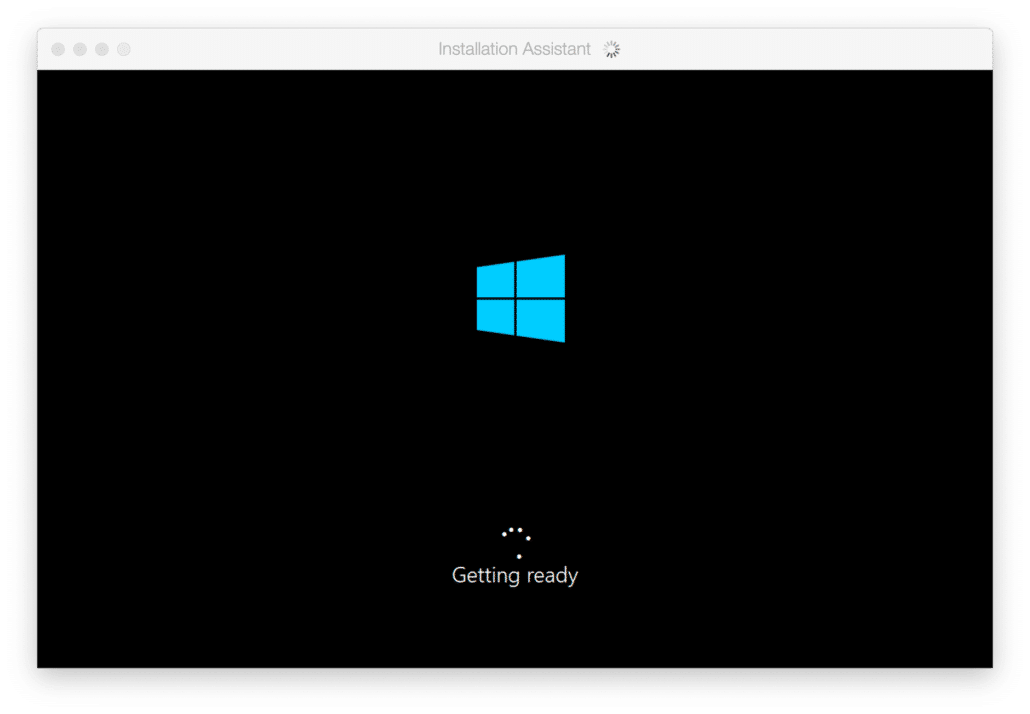
- When the Windows 10 download completes, you will see the installation begin automatically (refer to images below for reference).
- NOTE: During the installation of Windows 10, you may see notifications requesting access to your microphone and camera for Parallels.


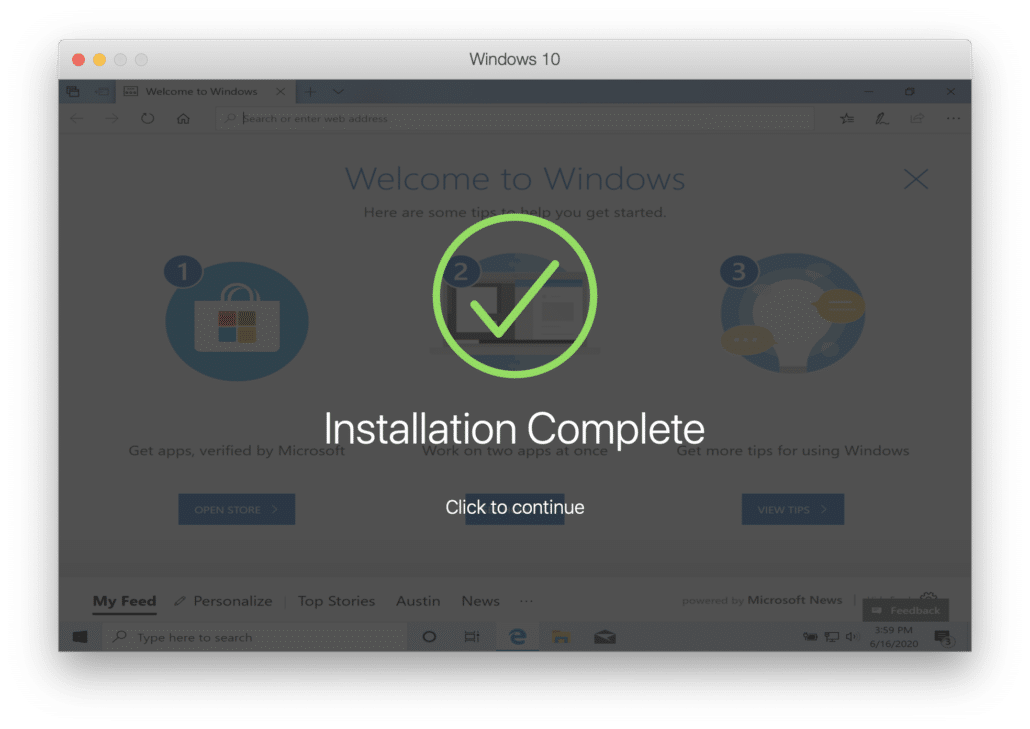
- Once the installation is done Parallels will state that the setup is complete, click the screen to continue.
Now that the Windows 10 installation and setup has completed, continue with the Activate Parallels Desktop section below, to activate and license your version of Parallels Desktop for Mac.
ACTIVATE PARALLELS DESKTOP
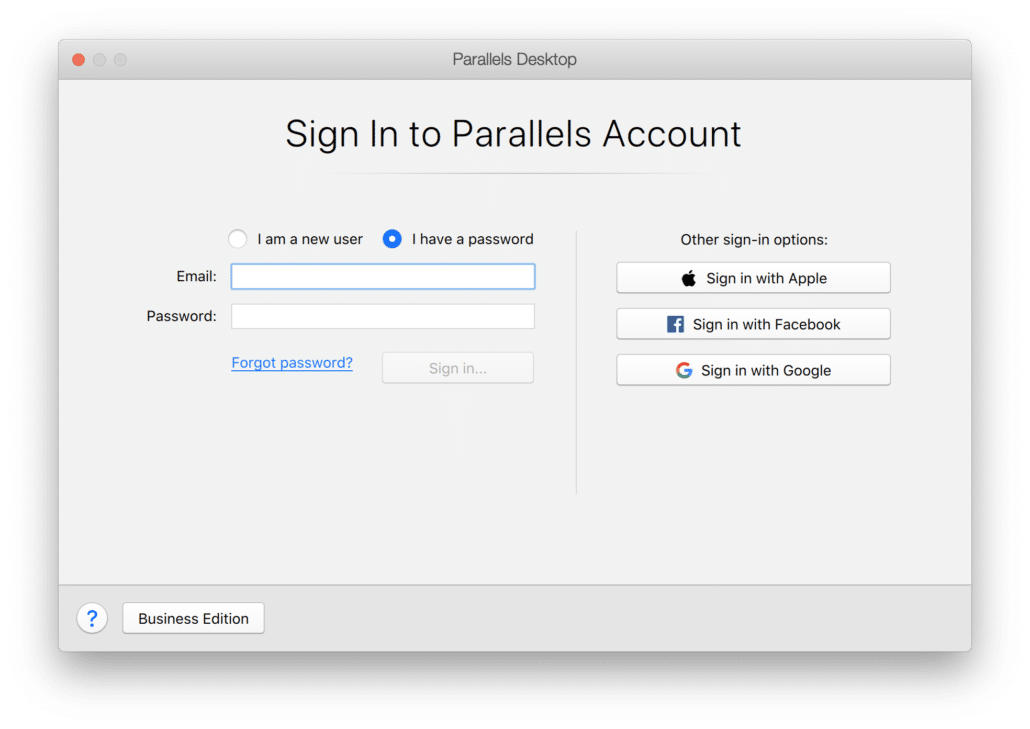
- Next you will be asked to sign in to your Parallels Account, or create one if you do not already have one.
- If you are creating a new account, use your ACC Student email address.
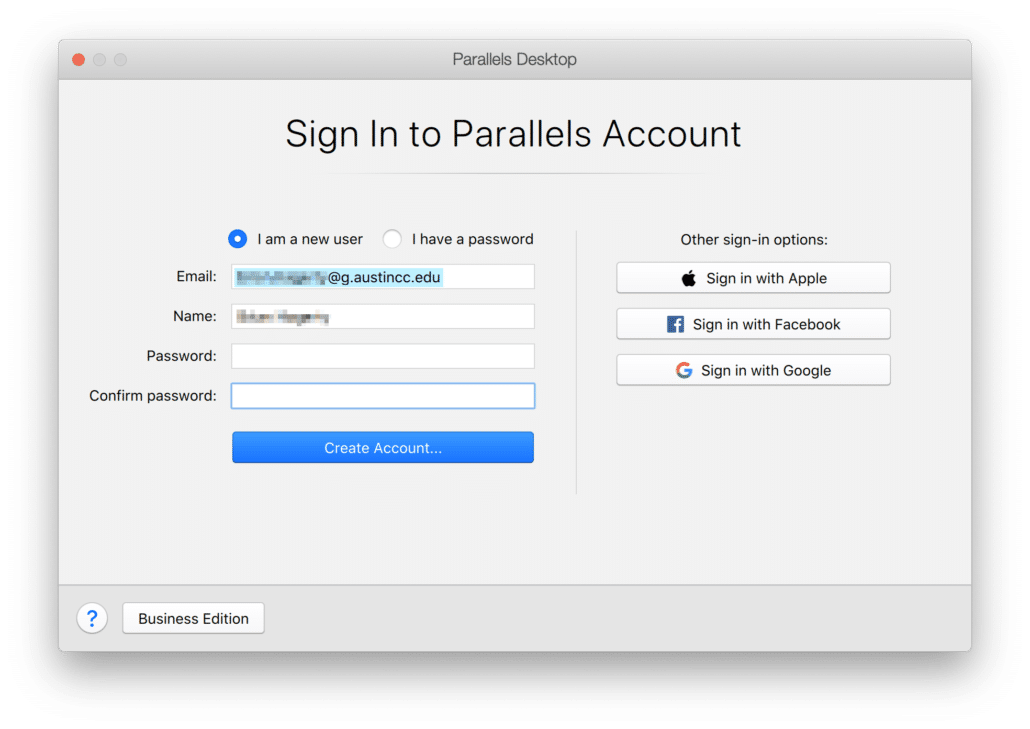
- Also, if you create anew account, you will be asked to read and accept Parallels Terms of Use and Privacy Policy.


- After creating your account and/or signing in, you will be asked for your Activation Key, this is the key you received after completing your purchase of Parallels Desktop through the ACC Webstore.
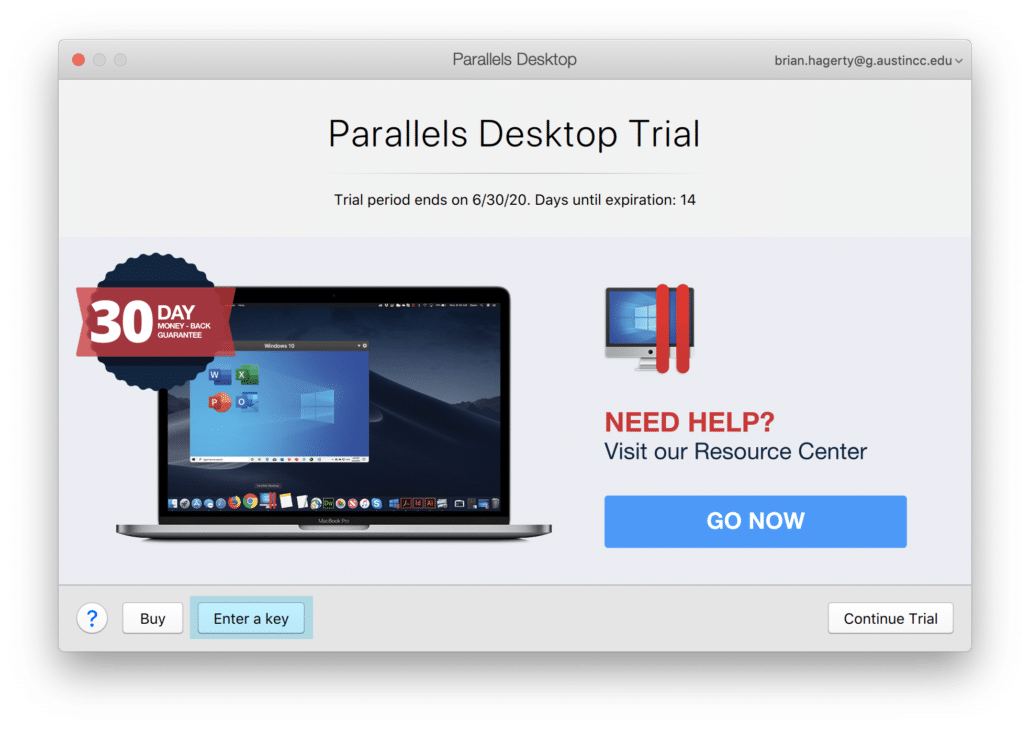
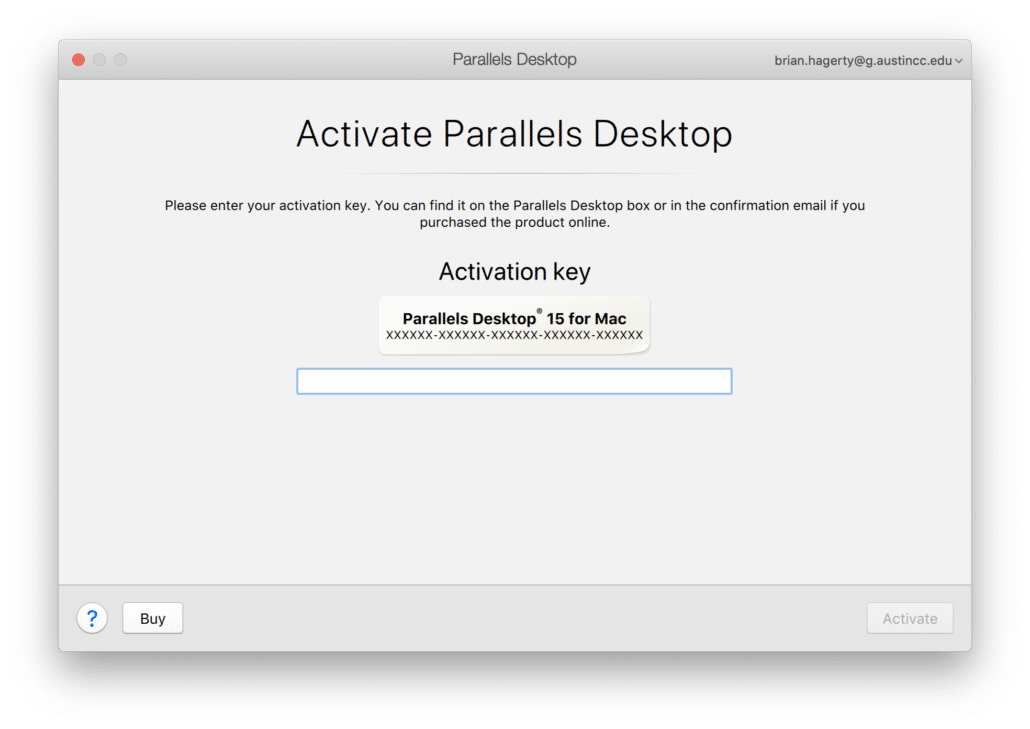
- Type in your Activation Key, then click Activate.
After activating Parallels Desktop, continue with the Activate Windows 10 section below to activate the Windows 10 installation installed by the Parallels Installation Assistant.
ACTIVATE WINDOWS 10
Now that you have Parallels Desktop and Windows 10 completely installed, you need to activate Windows 10 in order to use it for any length of time. To do that you need a valid Windows 10 Product Key. If you do not have a Windows 10 Product Key available, you can get one for free from ACC’s Webstore.
If you need to get a Windows 10 Product Key, follow the instructions in the Get Windows 10 Education Free section on this page (http://cadlearningcenter.com/support/microsoft-windows-10).
Once you have your Windows 10 Product Key, follow the instructions below to activate your copy of Windows.
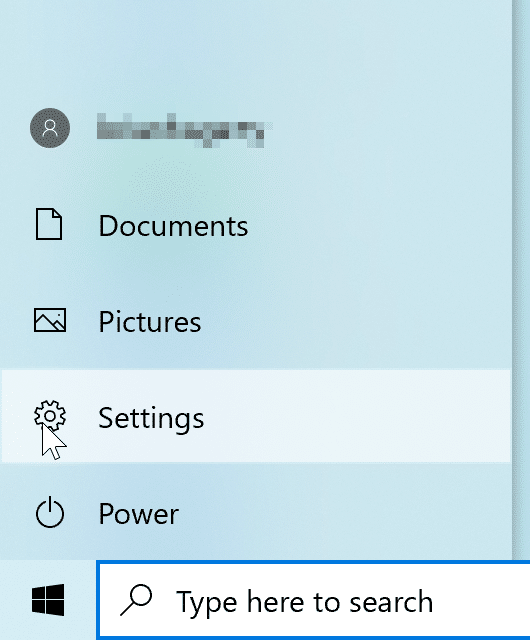
- Open the Start menu, and click on the gear icon
 to open the Windows Settings.
- In the Settings window, click on Updates & Security.
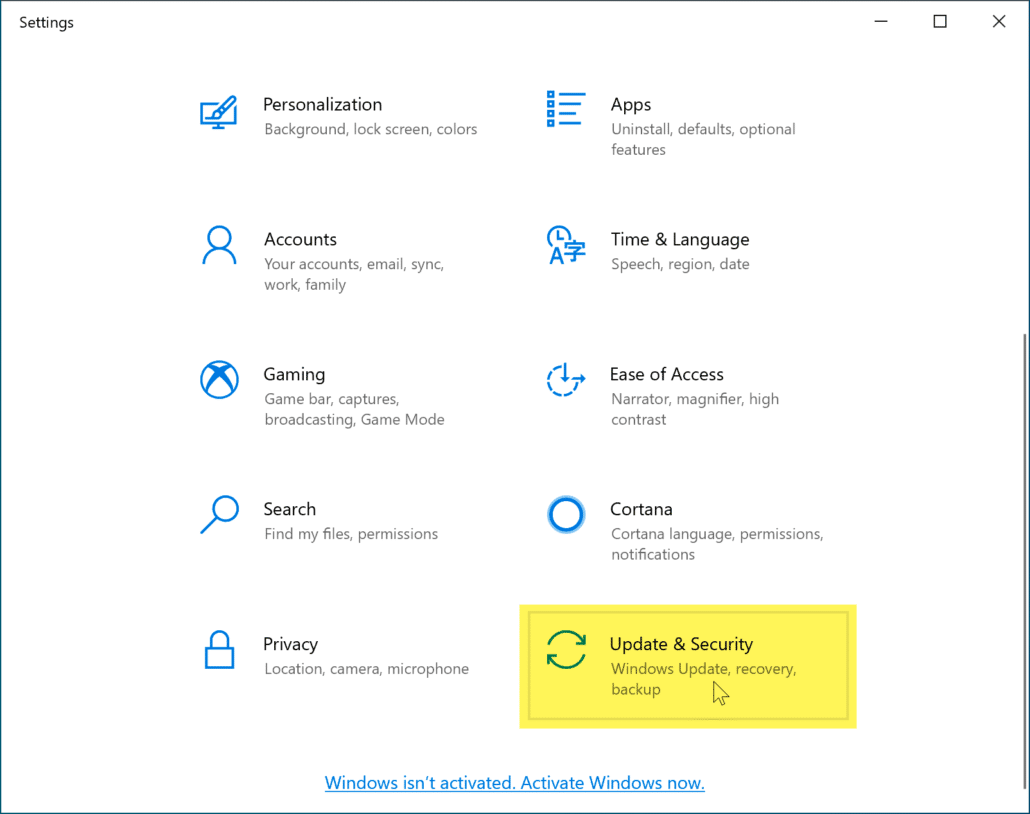
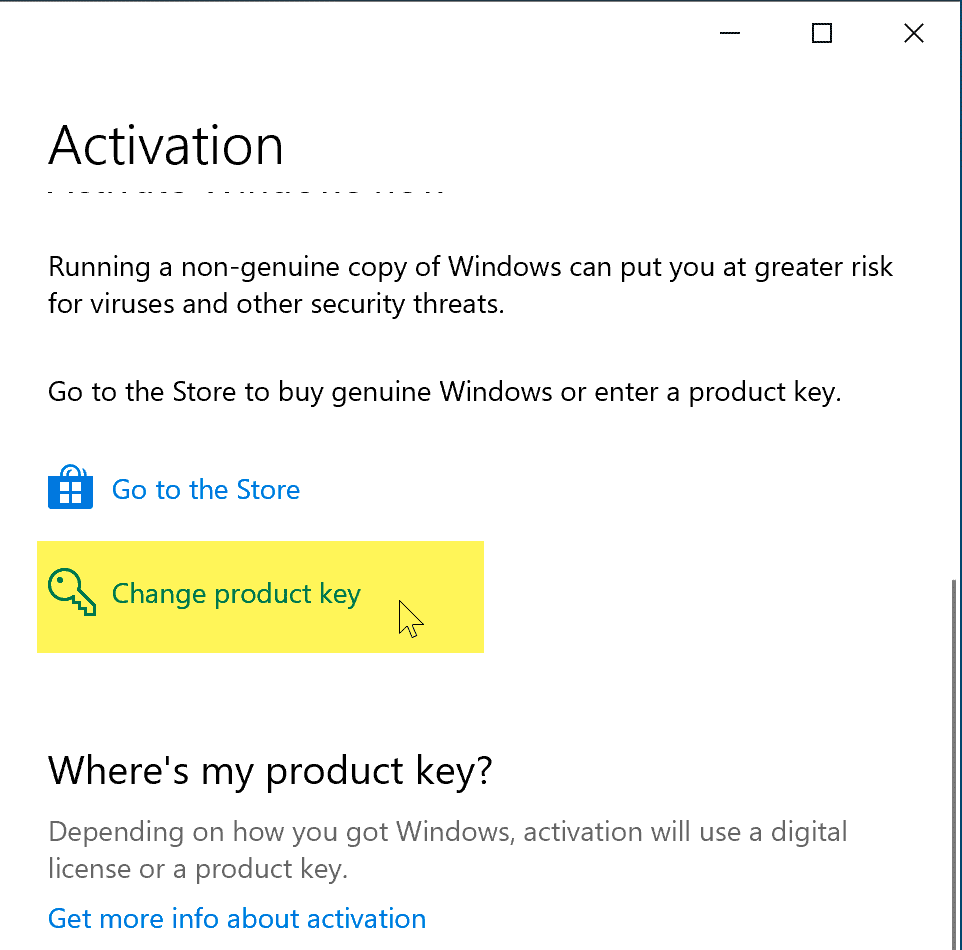
- From the menu on the left side of the Updates & Security window, click Activation.
- In the Activation screen, scroll down and click on Change product key.
- Next, enter in your Windows 10 Product Key, and click Next

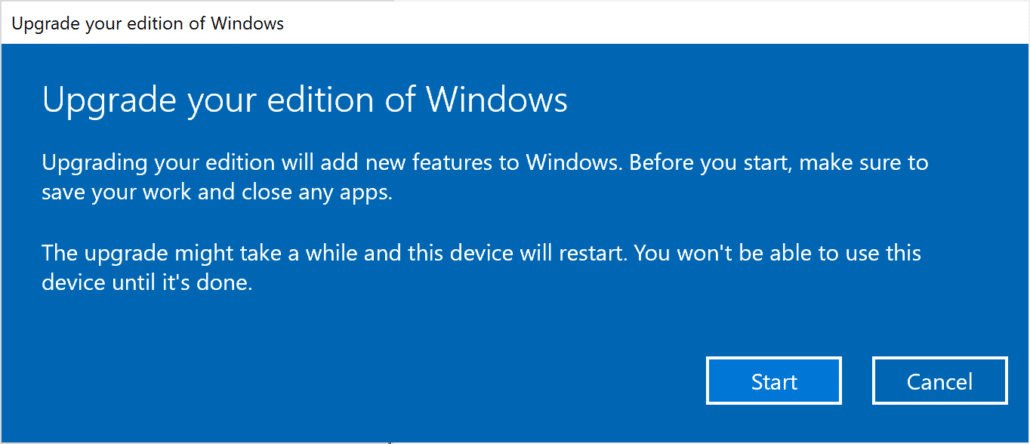
- The next screen will state Upgrade your edition of Windows, click Start.
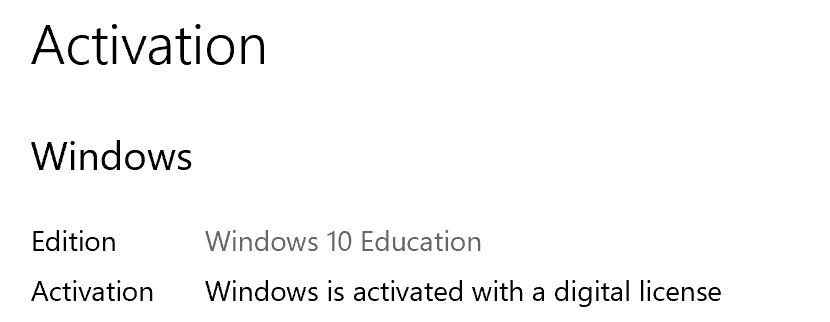
- NOTE: Parallels Desktop installs Windows 1o Home by default and these instructions are using the Windows 10 Education edition obtained from the ACC Webstore.
- The upgrade will begin and your computer should reboot.

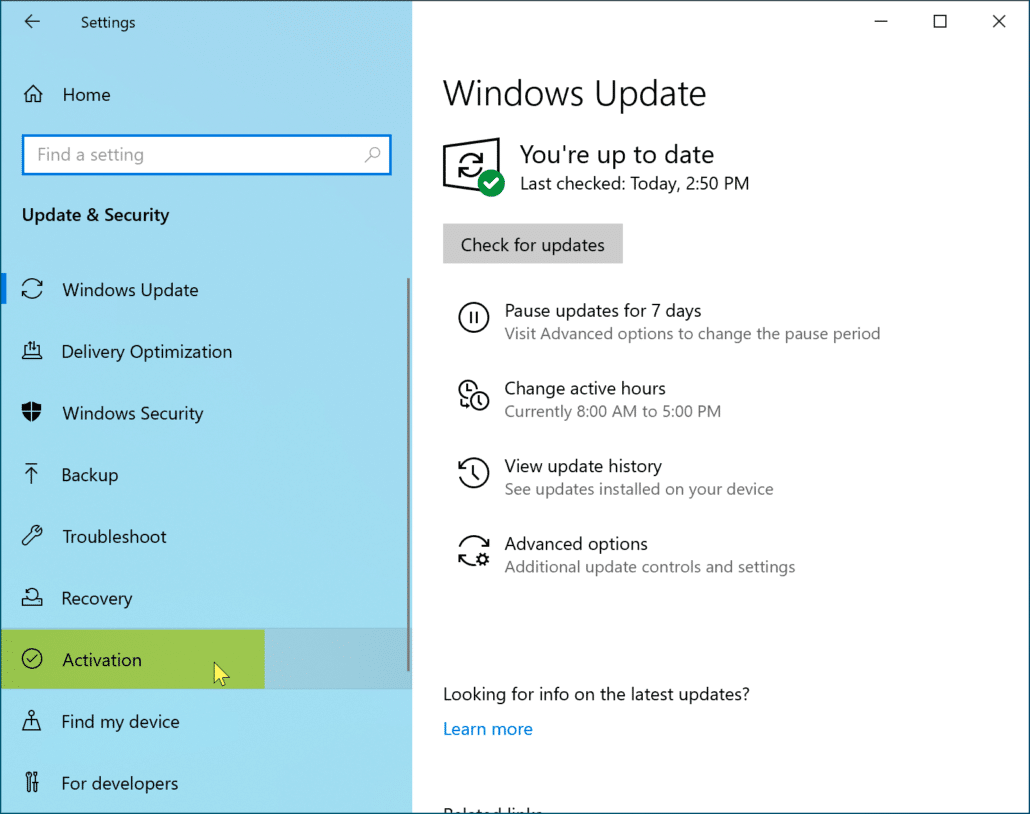
- Once the upgrade has completed and you are back at the Windows Desktop, open up the Settings window, navigate to Updates & Security > Activation to confirm that the Windows activation was successful.
Now that Parallels Desktop for Mac is completely installed, and Windows 10 is activated, you can now begin to install any Windows applications you wish. The next section explains how to change to the different view modes you can use in Parallels Desktop.
SWITCHING VIEW MODES IN PARALLELS DESKTOP
Parallels Desktop offers three view modes in which you can view and work with your Windows 10 desktop environment. The three modes are Windowed, Full Screen, and Coherence.
Windowed View Mode
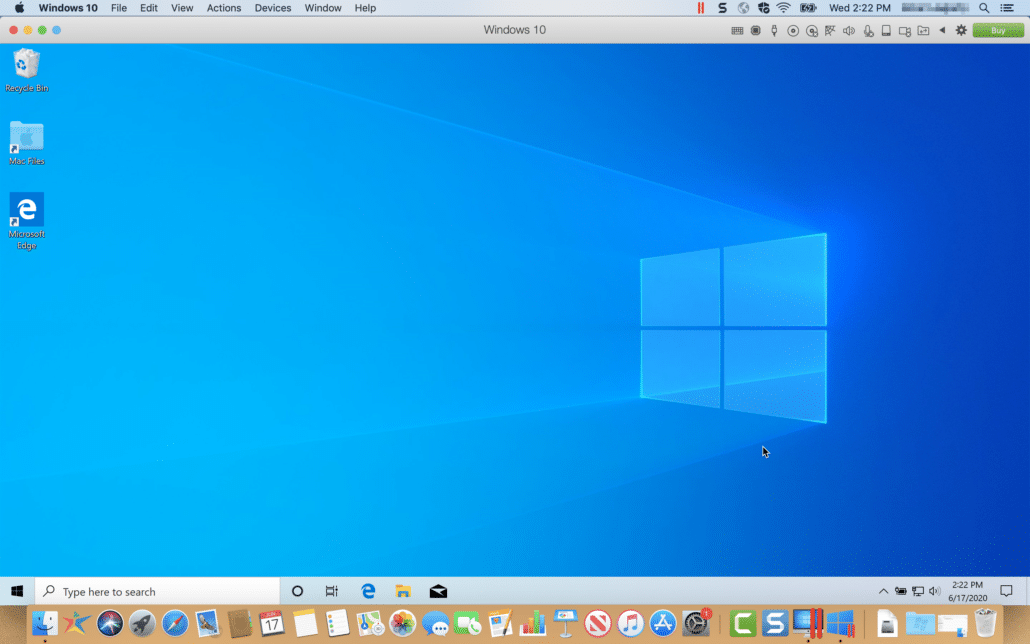
By default, Parallels displays Windows 10 in the Windowed mode (see image below).
Full Screen Mode
Full Screen mode is basically what it sounds like. You can set Parallels Desktop to display Windows 10 over the entirety of your Mac’s screen. The in-depth instructions for using Full Screen mode can be found here.
Coherence View Mode
Coherence is a view mode that allows you to run Windows applications on your Mac, as though they were native Mac applications. In Coherence mode, you can use both your Windows and Mac applications at the same time without managing two separate desktops or rebooting.
You can even load Windows applications directly from your Mac Dock or Mac desktop. In this mode, all Parallels Desktop controls, icons, and menus are hidden, except for the Parallels icon in the Mac menu bar and the Windows Applications folder in the Dock.
The in-depth instructions for using Coherence mode can be found here.